There are days when cooking feels creative.
And there are days when you just need something warm, nourishing, and forgiving.
This is for those days.
This is a put everything in the pot, press a button, and let it tell you when it’s ready kind of meal.
No sautéing.
No layering.
No pressure (except the Instant Pot kind).
Just real food.
Made gently.
💛 What this is
A true one-step dal.
Everything goes in at once.
The Instant Pot does the work.
You get to exist while it cooks.
Soft. Comforting. Flexible.
Very hard to mess up.
🫶 What to expect
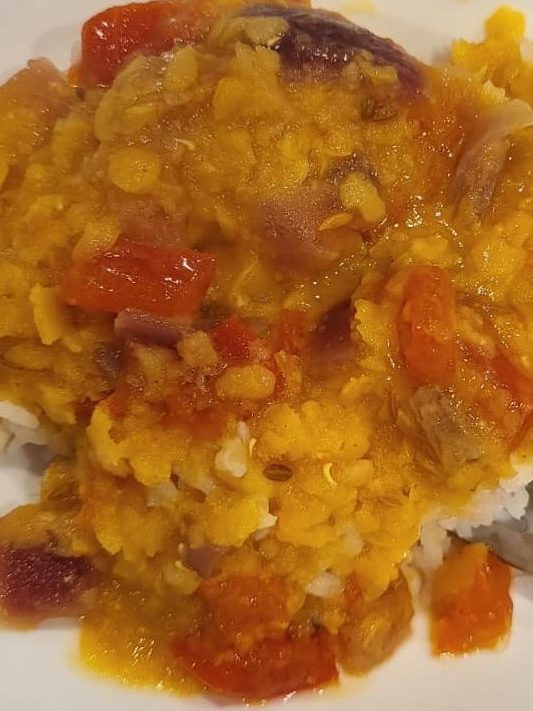
This will not look like restaurant dal.
It will look like home, survival, nourishment, and care.
It will smell like someone is taking care of you.
Even if that someone is you.
If it turns out slightly different each time?
That’s normal.
That’s life.
That still counts.
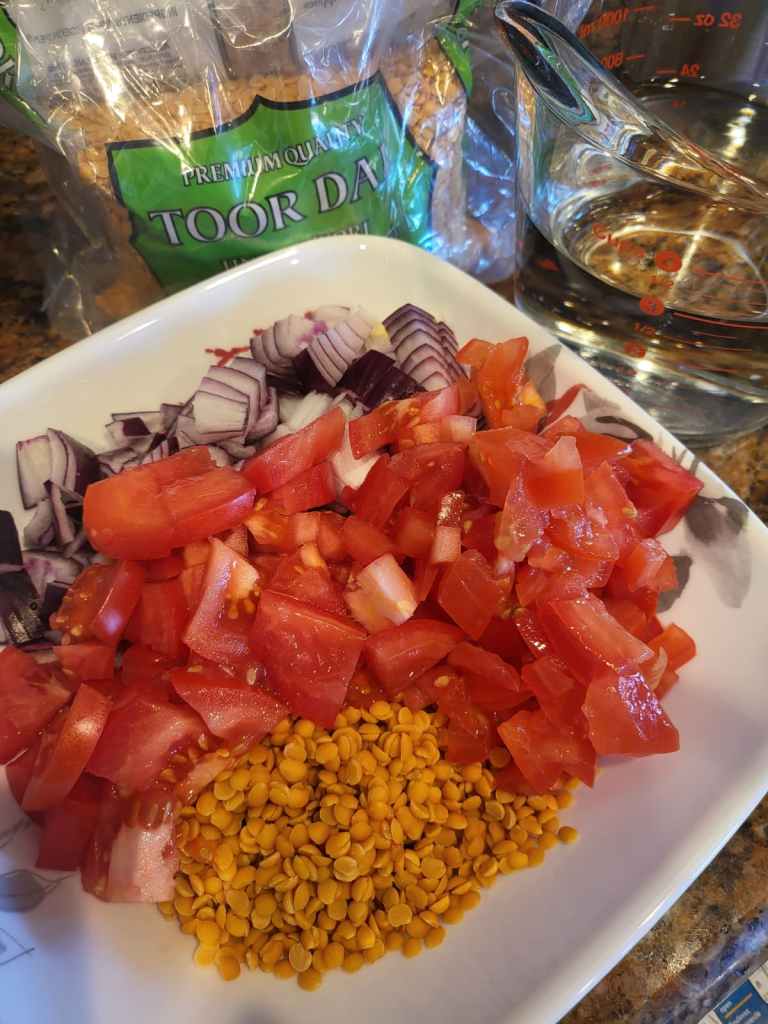
🥣 What you need (serves ~4)
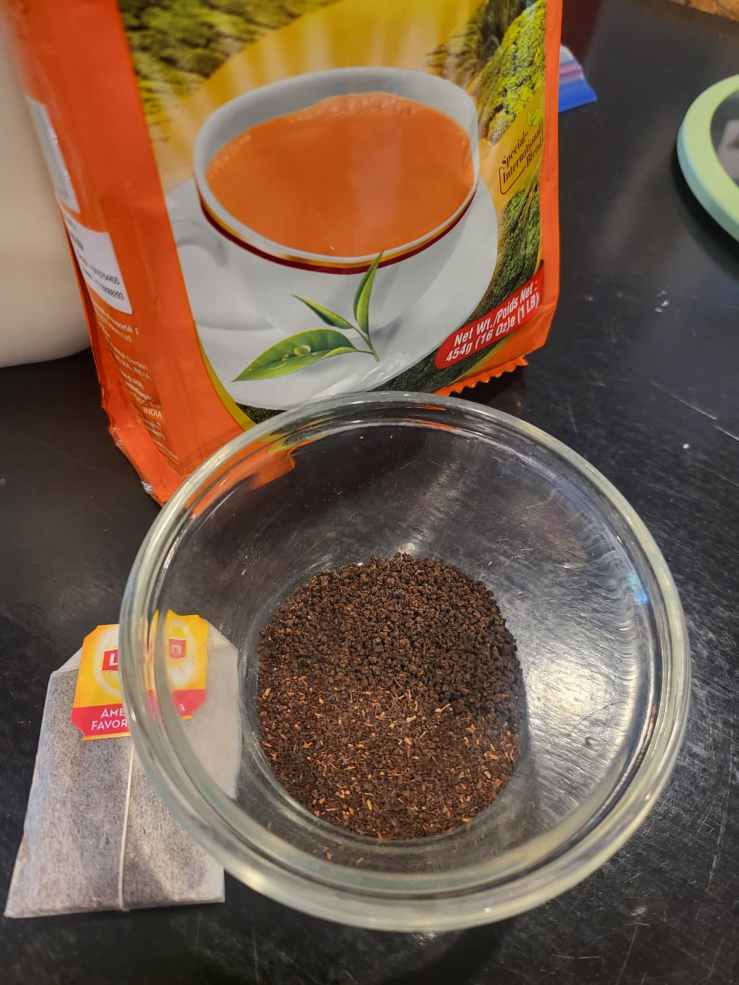
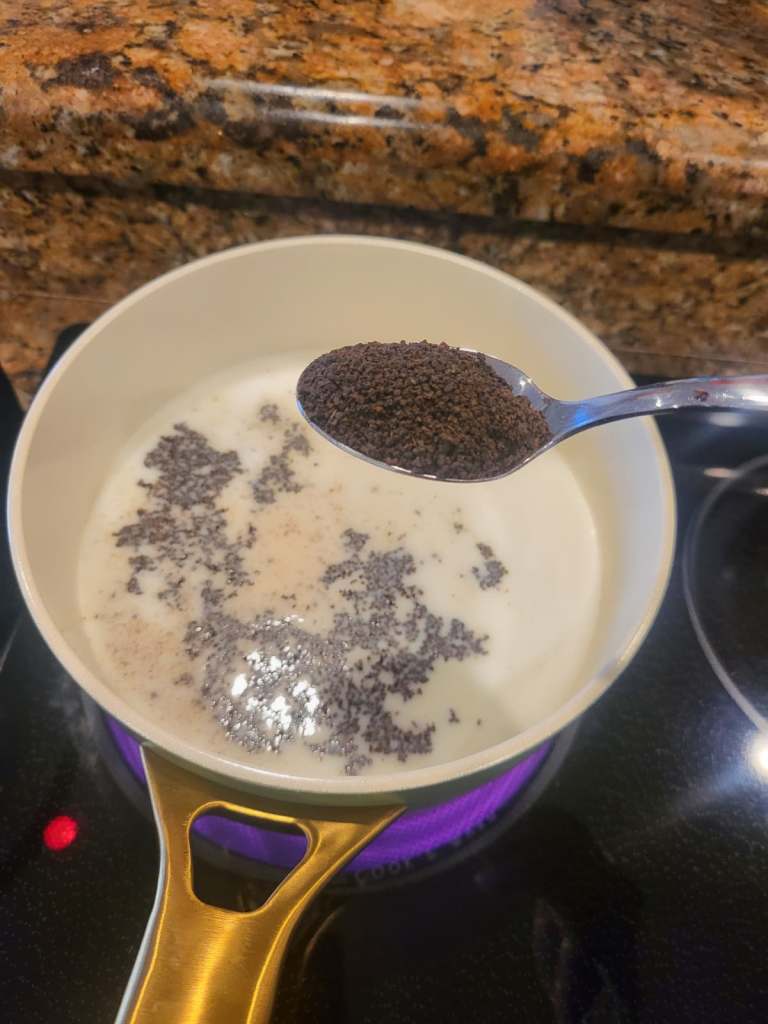
- 1 cup toor dal (or masoor/moong — all work)
- 1 medium onion, chopped
- 1-2 tomatoes, chopped (I used 1½ because that’s what I had and I wanted to use it all up)
- 3 cups water
- 3–4 cloves garlic, chopped (or 1 tsp garlic paste or frozen garlic cube) (I forgot to put my garlic in! If you do the same, don’t worry about it, dal is very forgiving. There’s a reason you’re doing low bandwidth cooking right now.)
- ½ tsp cumin seeds
- ½ tsp cumin powder
- ¼ tsp turmeric
- Small dash chili powder (optional) (I’m a wimp with chilis 😂😅If you are, too, you’re not alone😊)
- Salt to taste (start with ~1 tsp)
Optional comfort add-ins
- drizzle ghee or butter at end
- squeeze lemon
- chopped cilantro
All optional. Nothing required.
🍲 (Almost) One-Step Method (the whole point)
💛 Want a 60-second version?
Here it is: Dump everything → close lid → sealing → press Pressure Cook 8 min → wait → open → eat.
Step 0: Take a breath 😄
You’re just making dal.
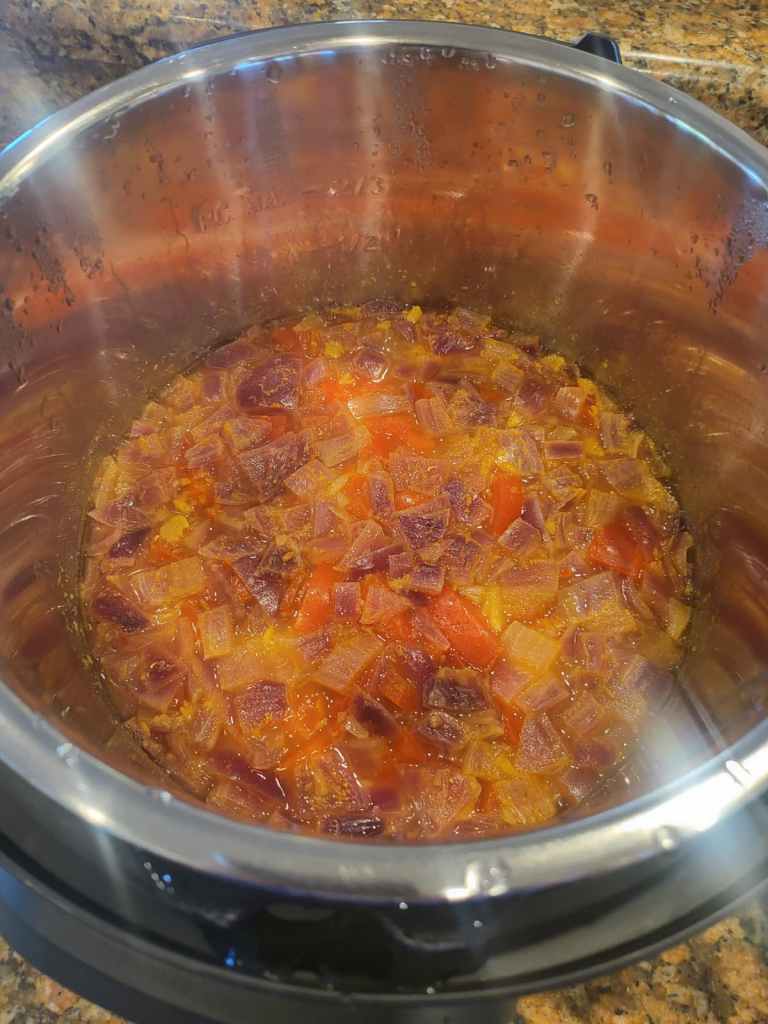
Step 1 — Put everything in the Instant Pot (this one is Instant Pot Duo 7-in-1 Electric Pressure Cooker)
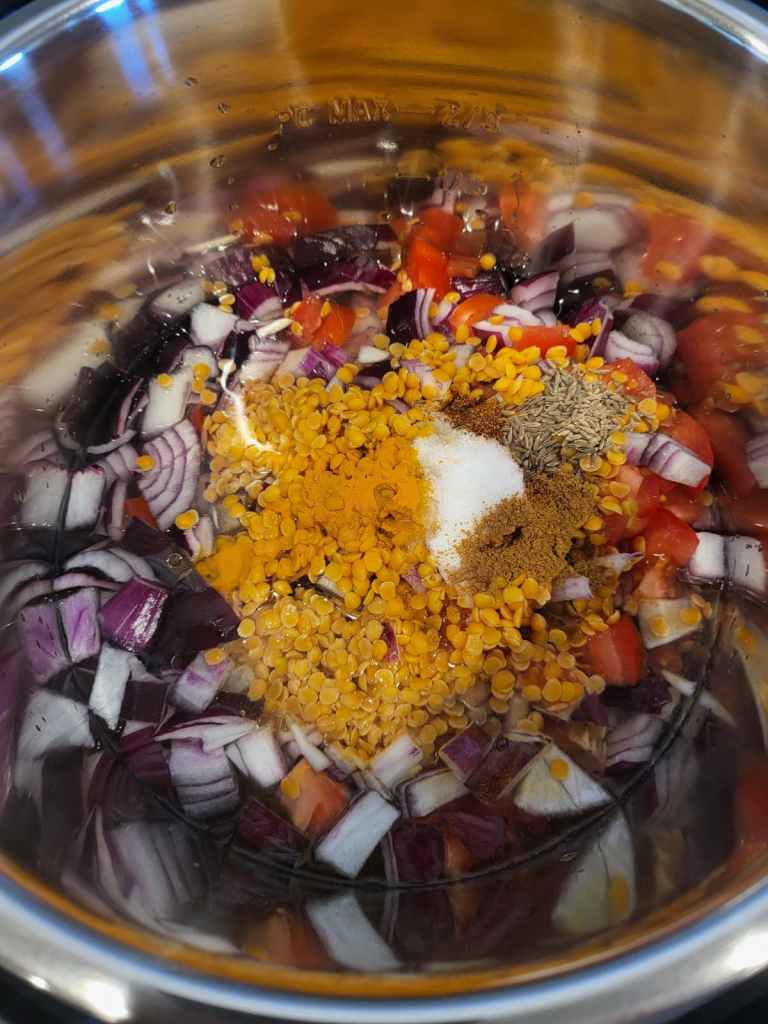
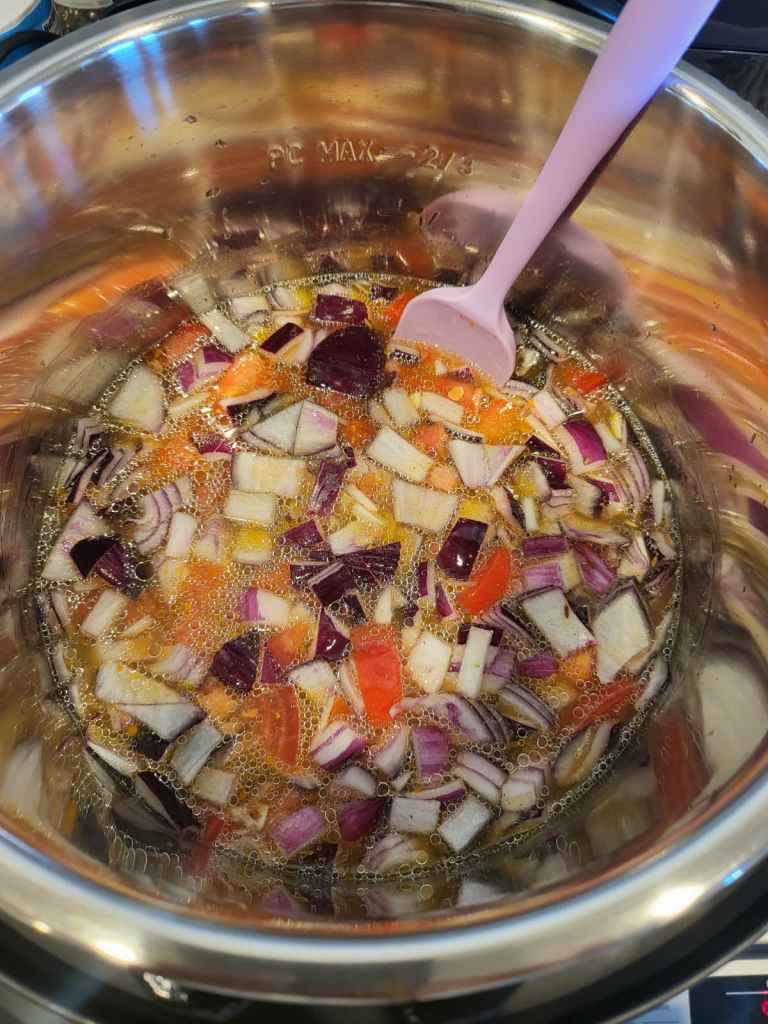
Dump everything into the the stainless steel inner pot in the instant pot. I started with my bowl and then remembered that was pointless 😂
Stir once if you feel like it.
Or don’t.
Both are valid.
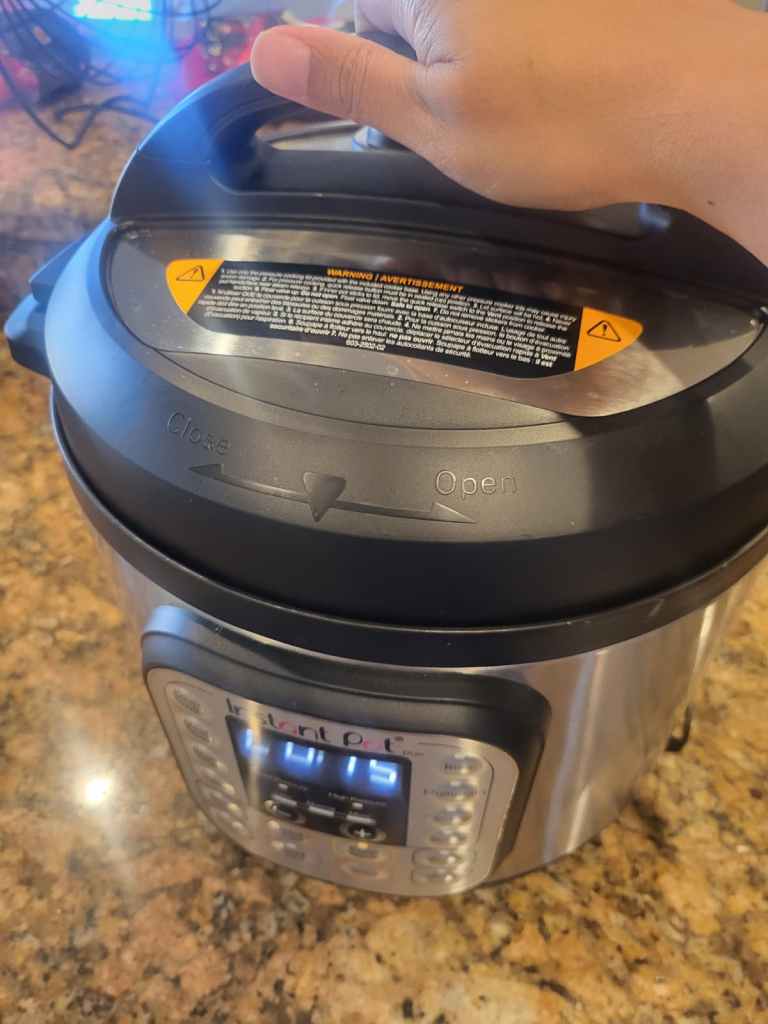
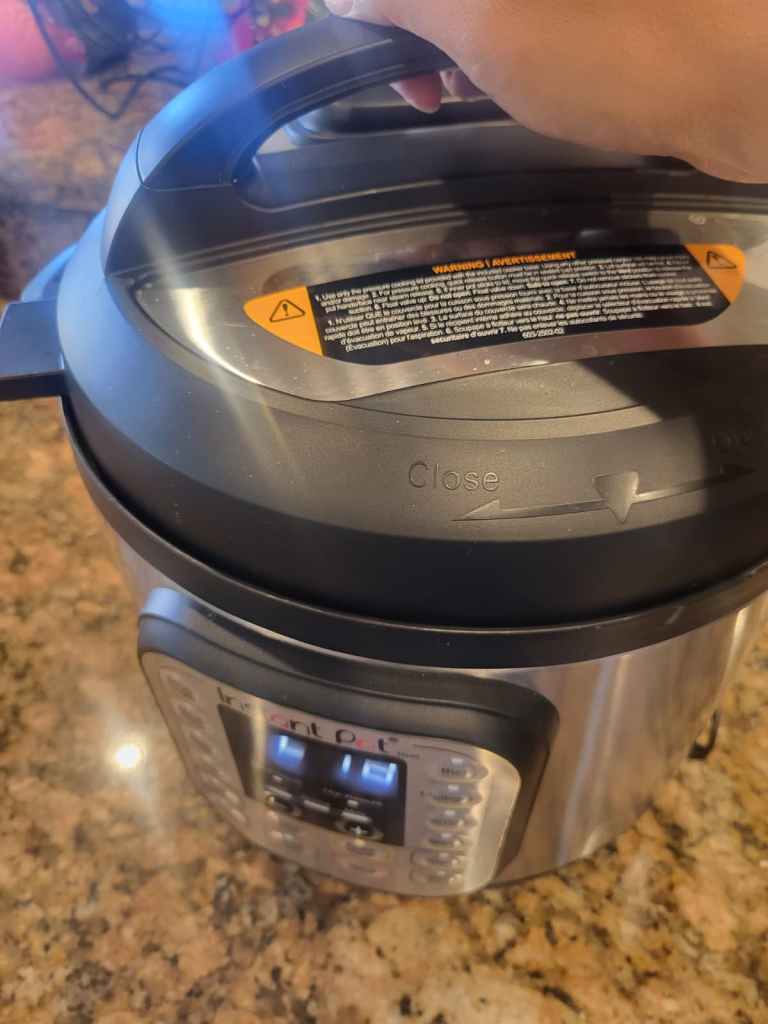
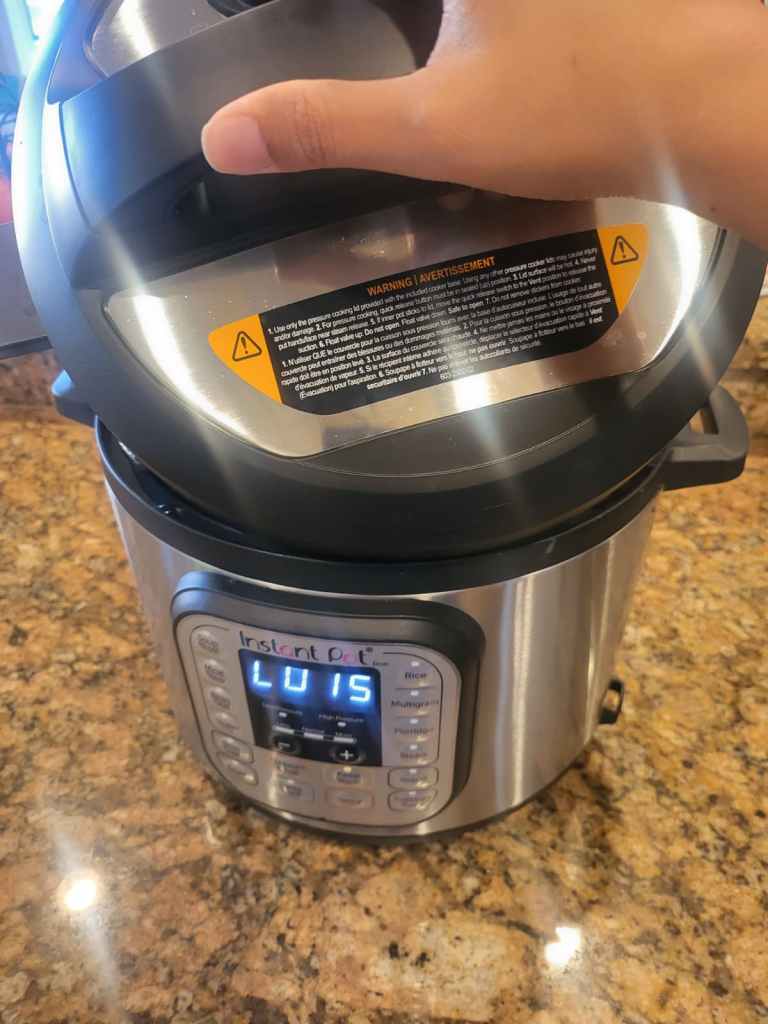
Step 2 — Close the lid
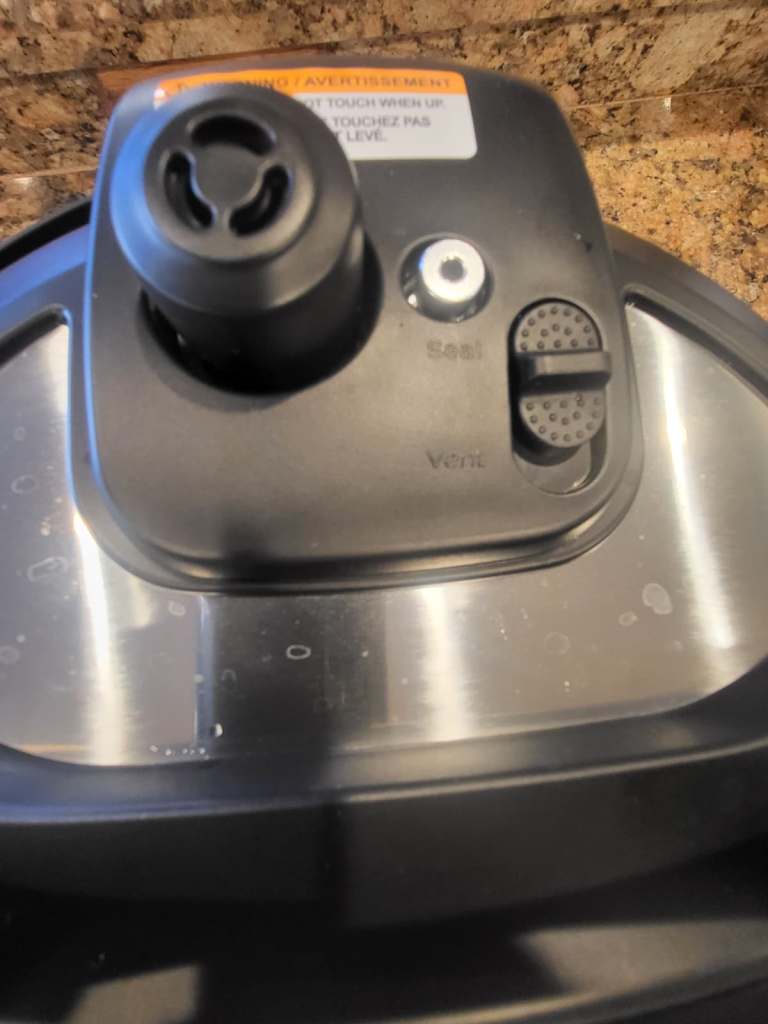
Close lid: Put lid on, twist until it stops (locks).

Turn to SEAL. Not vent.
If not sealing → it won’t pressurize.
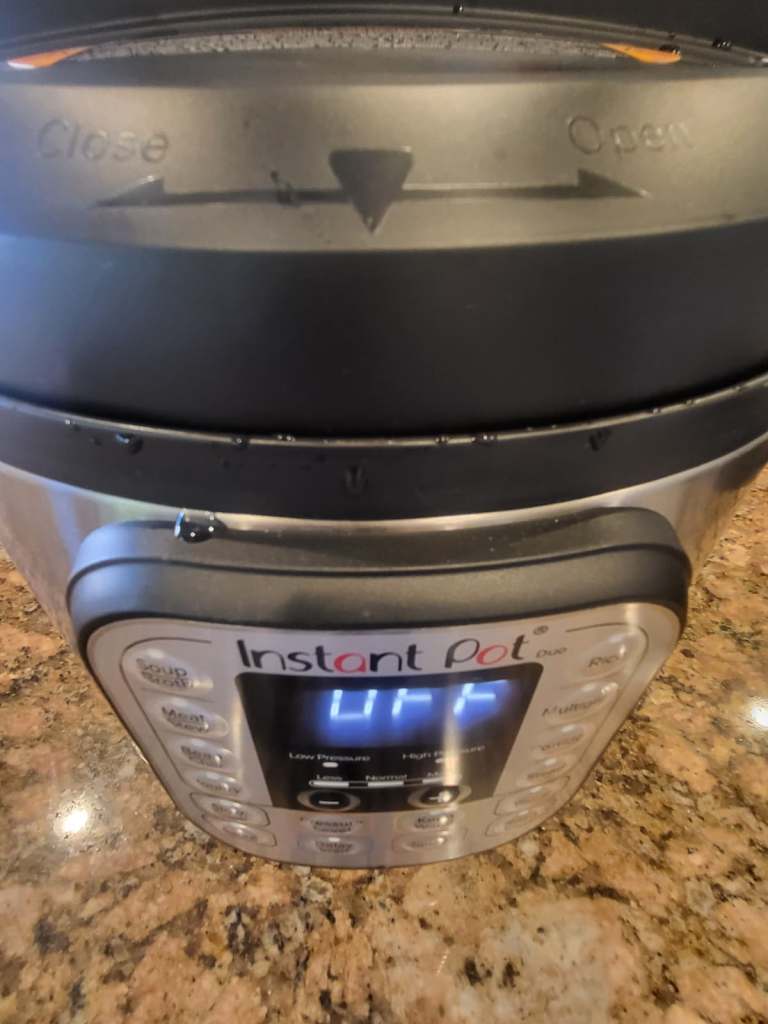
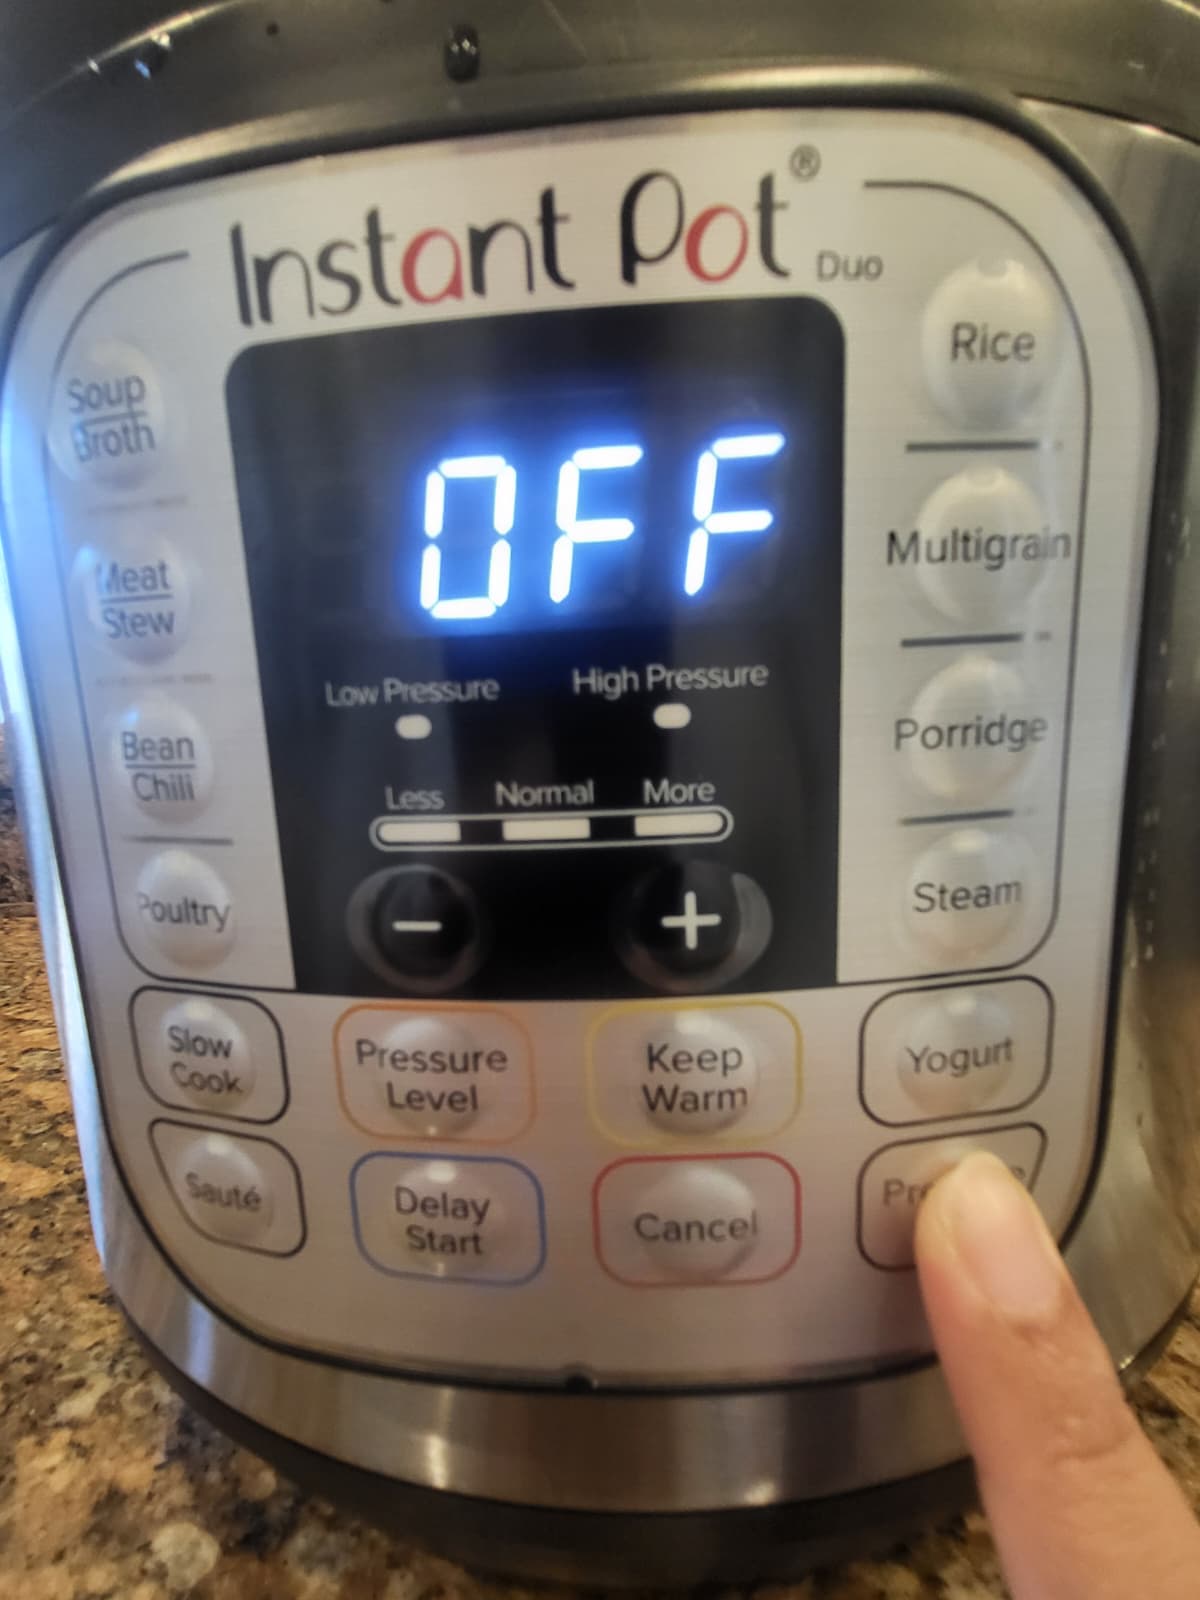
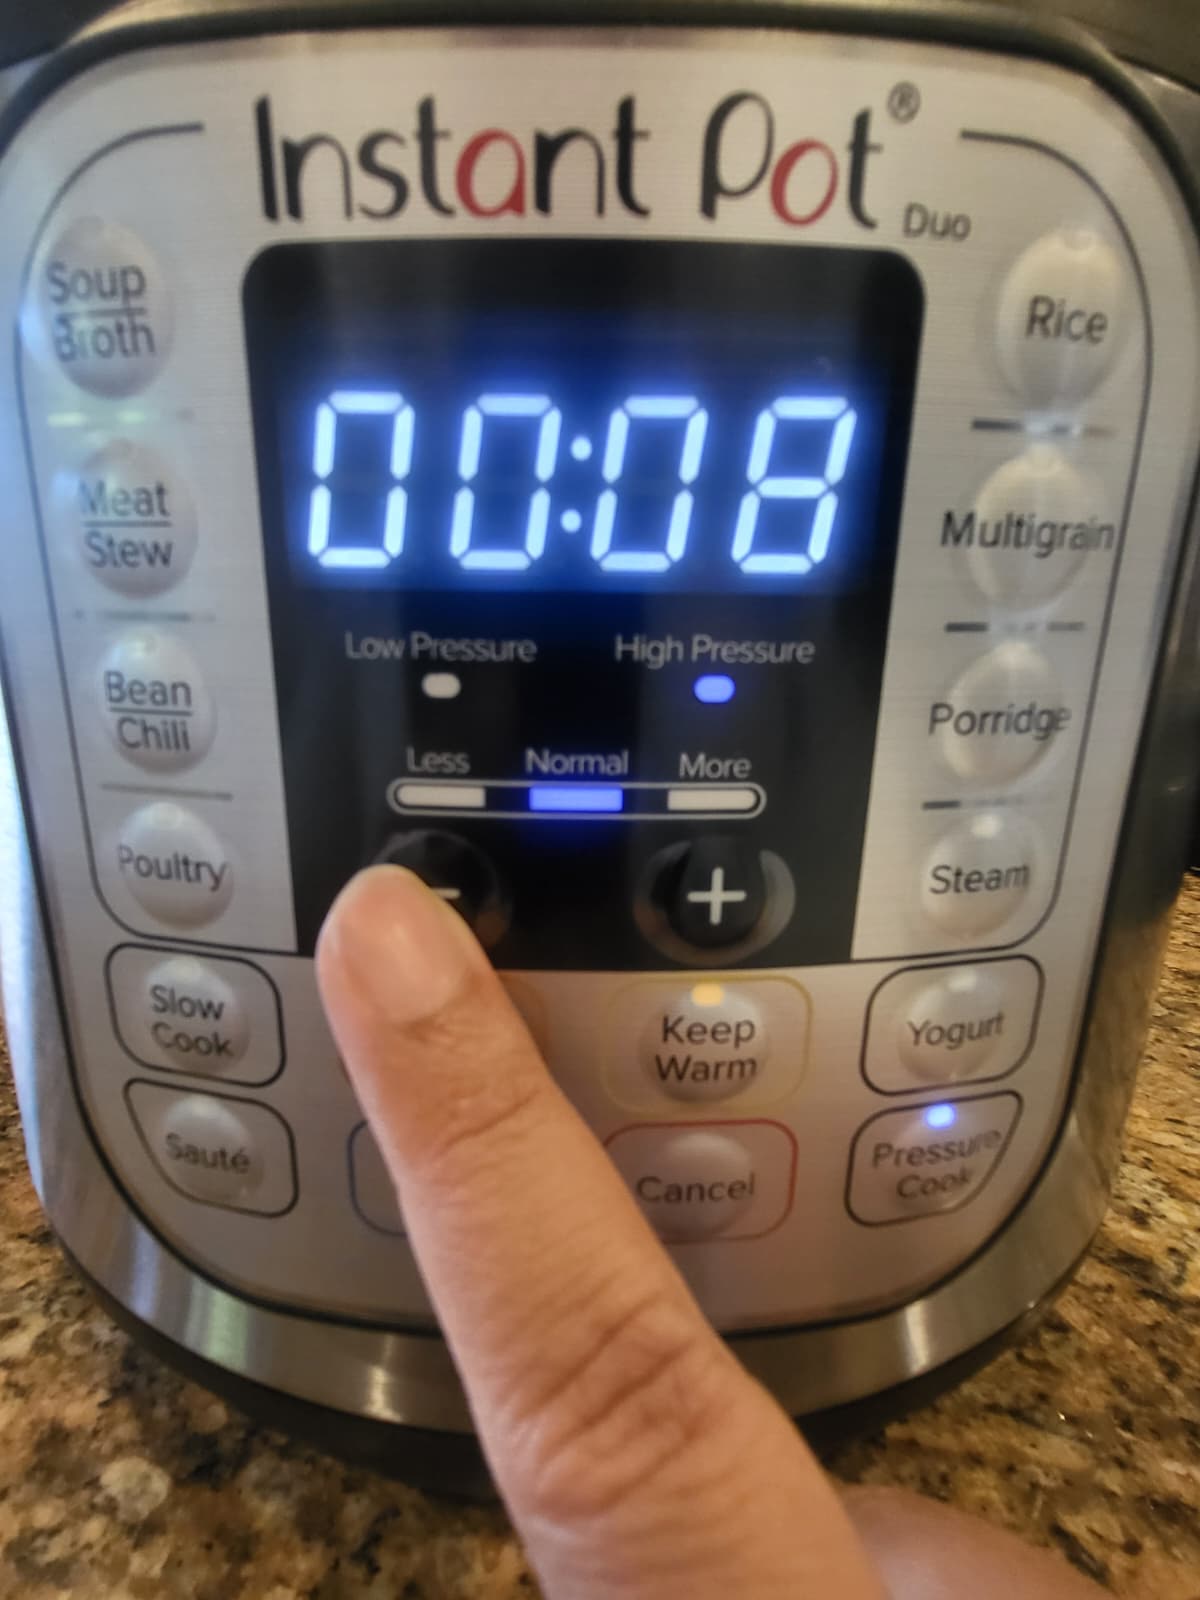
Press Pressure Cook
Set to High Pressure
Set time to 8 minutes
Then stop touching it.
After a few seconds it will beep and start with “On” on the display.
That’s it.
Walk away.
Sit down.
Exist.
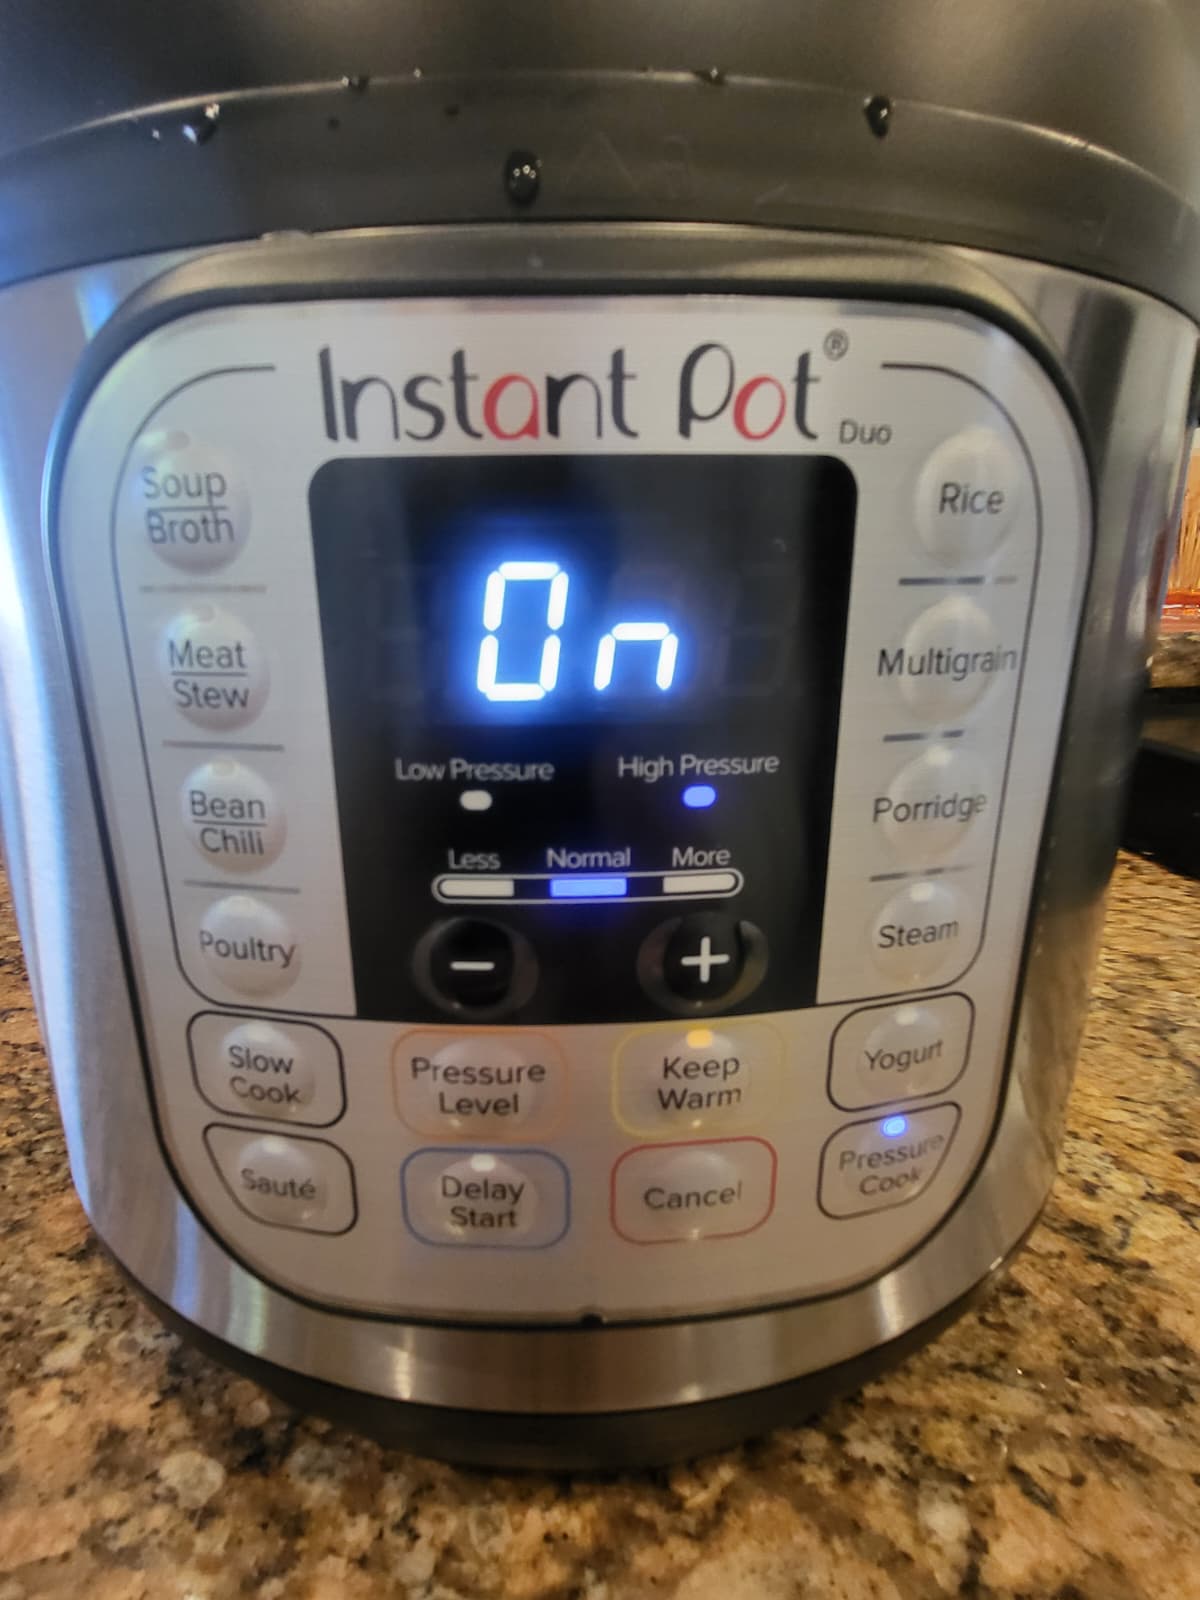
For ~10 minutes:
It will say “On”
This means it’s heating and building pressure.
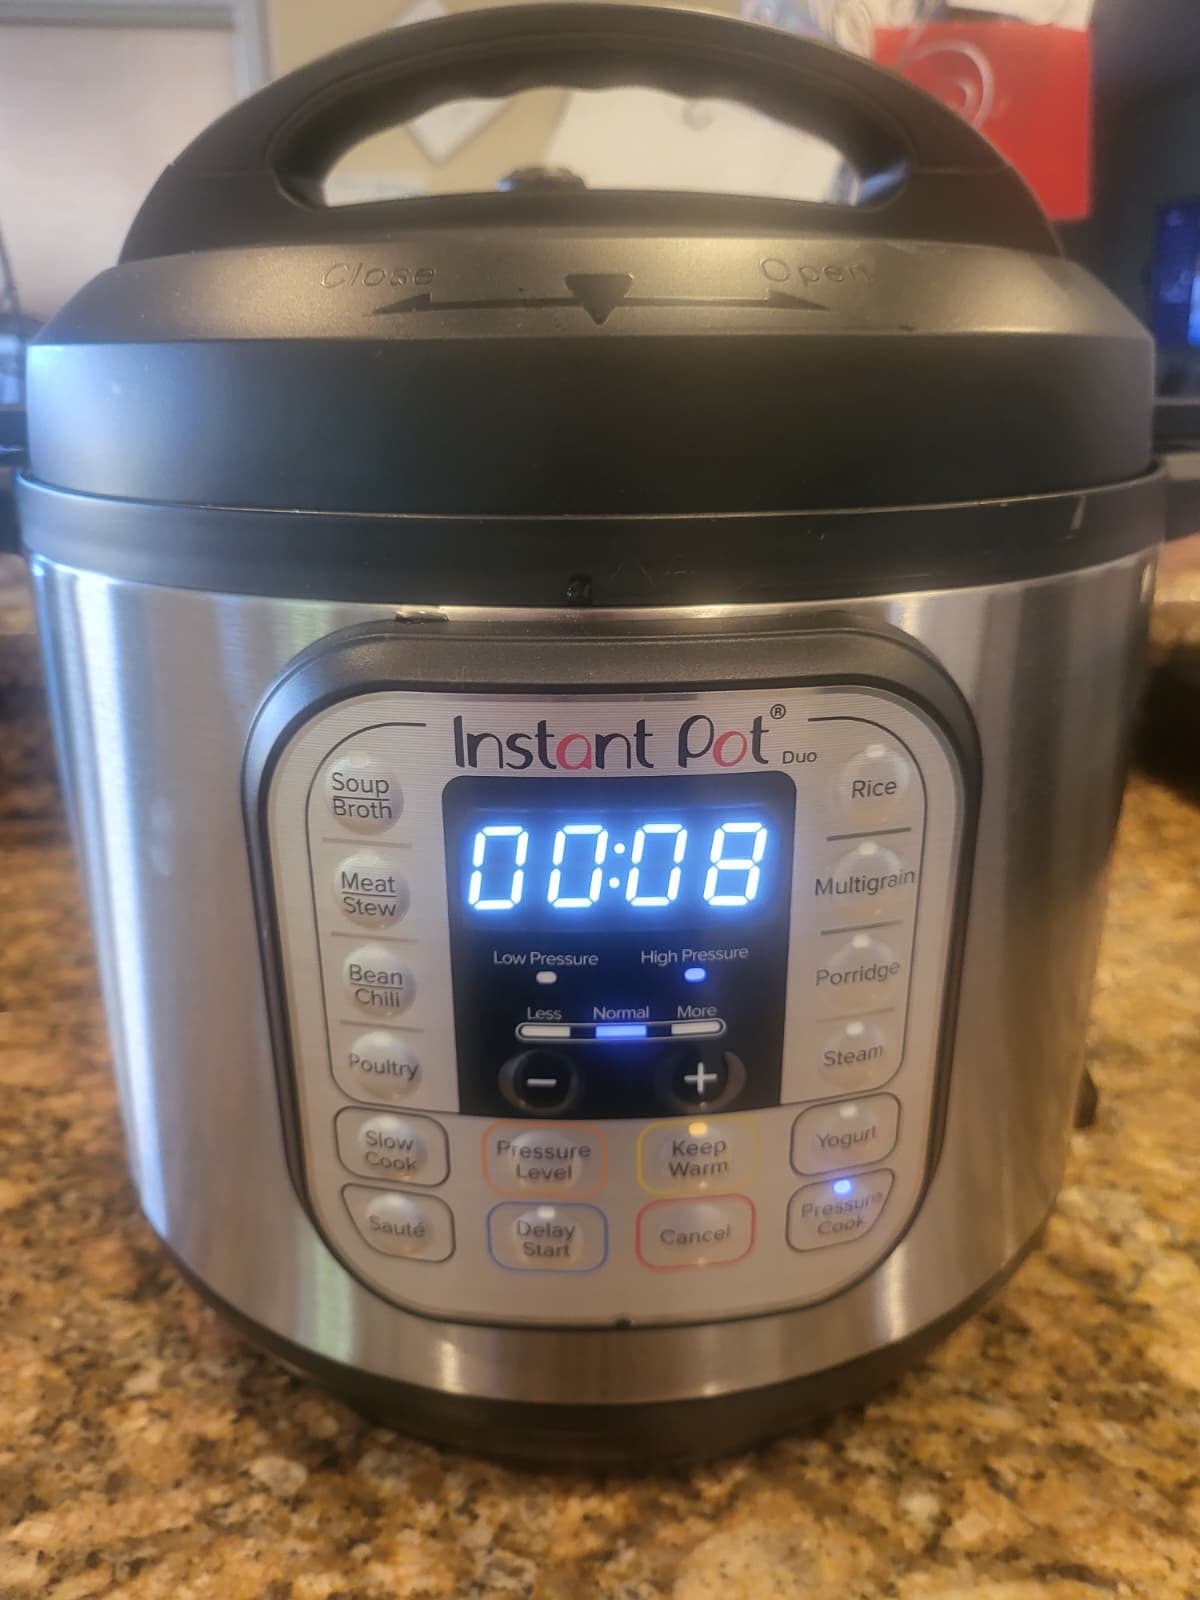
Then:
It will start counting down from 8 minutes.
You do NOT need to do anything.
Step 3 — Let pressure release naturally
When cooking ends, it will beep and show L0:00,
Now do nothing for 10 minutes
This is called natural release.

Natural release = softer dal and less stress.
Using a spoon or tongs, turn valve to VENT.
Steam will shoot out (normal).
Wait until:
- steam stops
- little metal pin drops
Now safe to open.
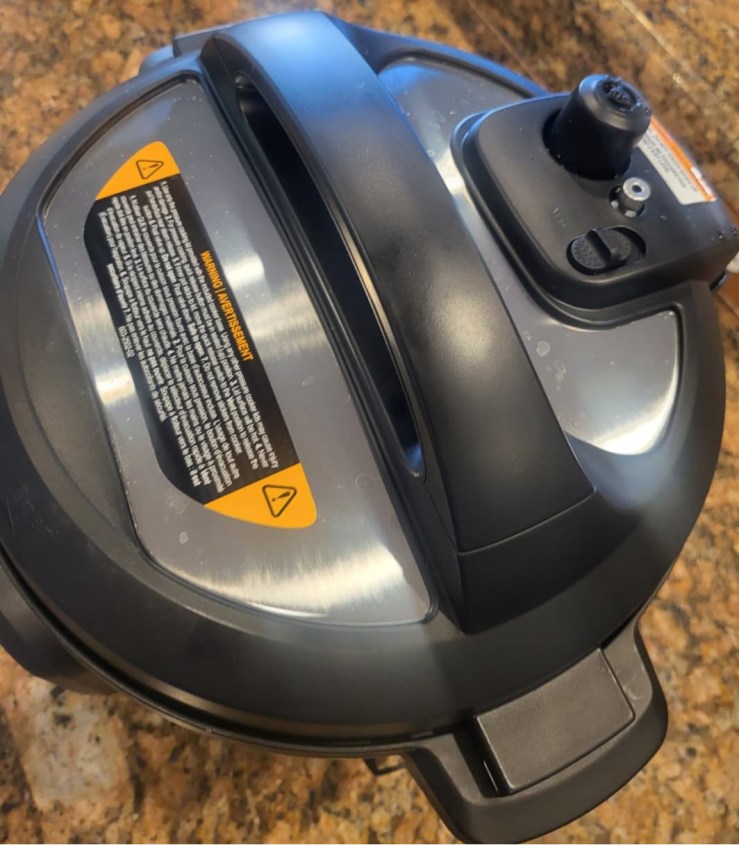
Open lid when safe. Open lid away from face.
Step 4 — Stir & adjust
Open lid.
Stir.
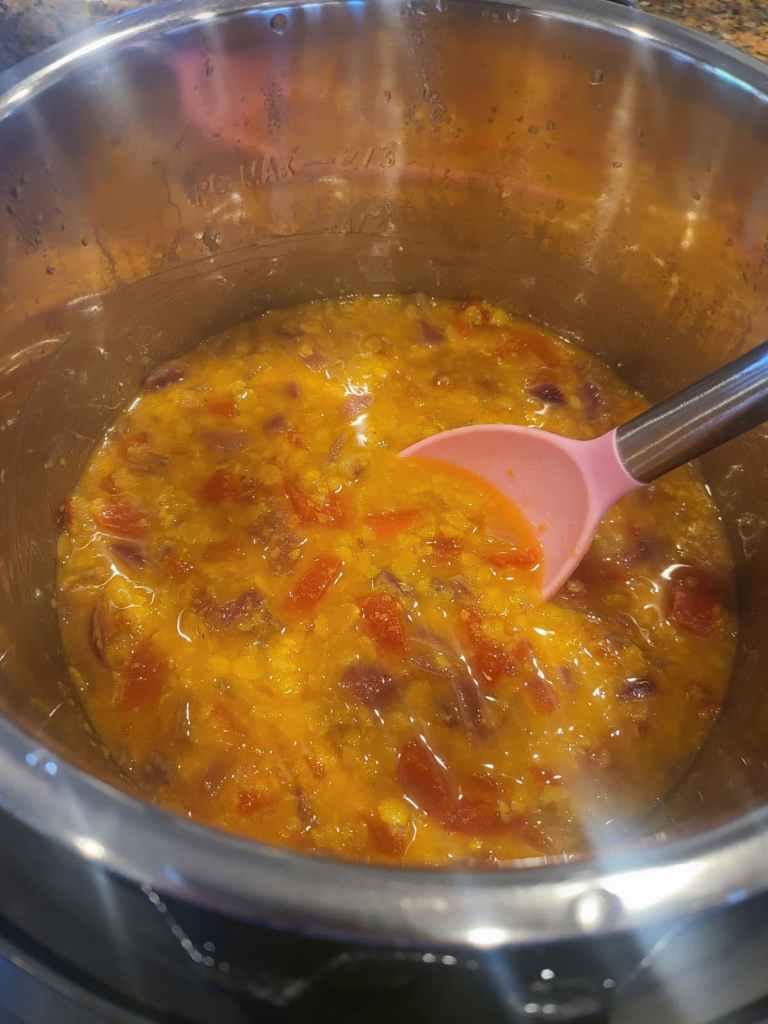
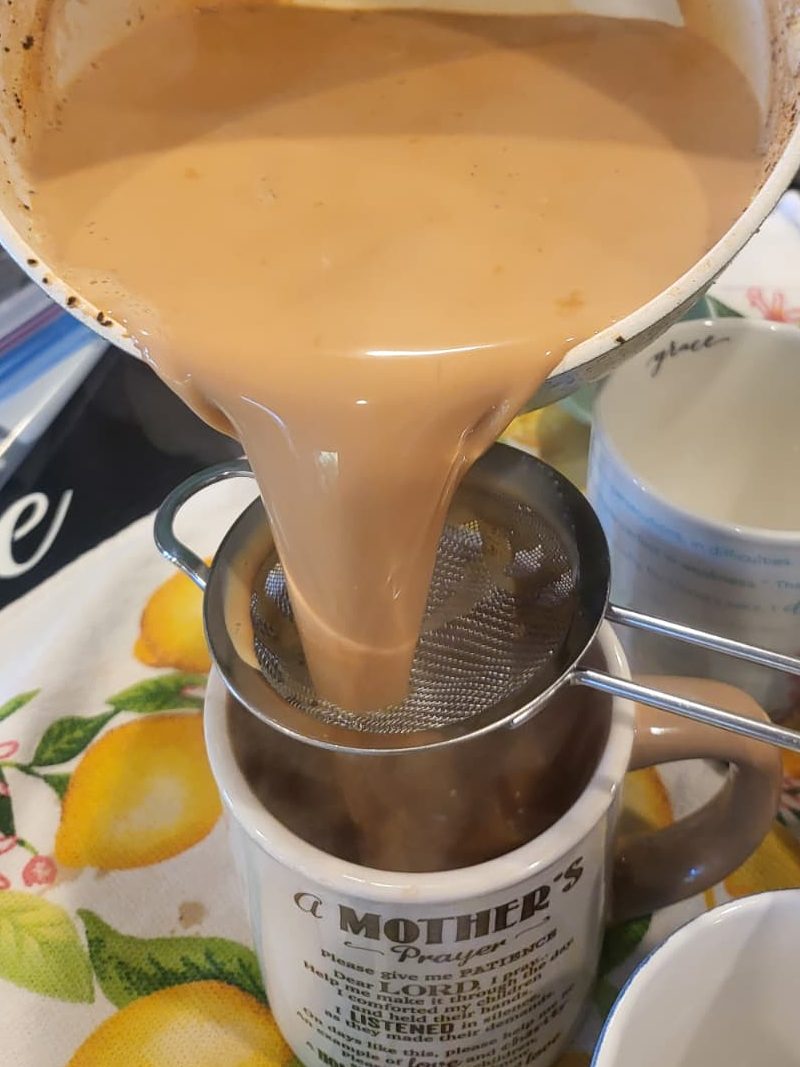
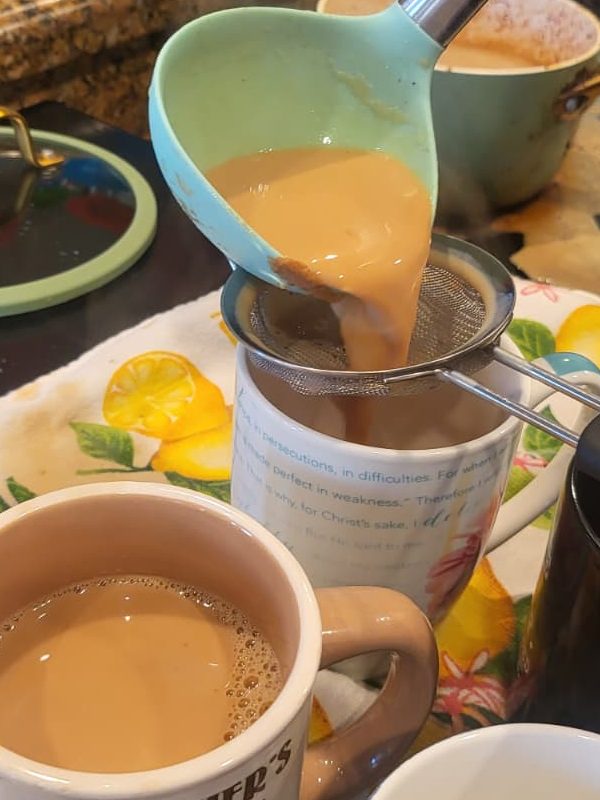
Dal will look soft, cozy, a little messy.
Perfect.
If thick → add hot water.
If thin → simmer on sauté 2–3 mins.
If bland → add salt or butter.
If perfect → eat.
🍚 How to eat
- Over rice
- With toast
- With nothing
- Standing at the counter
- Sitting quietly
- Feeding kids
- Feeding yourself
All count.
💛 Notes for low-energy days
No tempering required.
No frying required.
No perfection required.
If all you did today was press a button and feed yourself:
That is not small.
That is care.
I see you. You matter. I care. Just keep going. 💛
What’s your version of dal?
Do you have a one-step version that gets you through the week?
Something here you relate to?
Please share — I’d love to hear.
Pseudonyms welcome. First-time comments are moderated to keep this space kind. 💛